


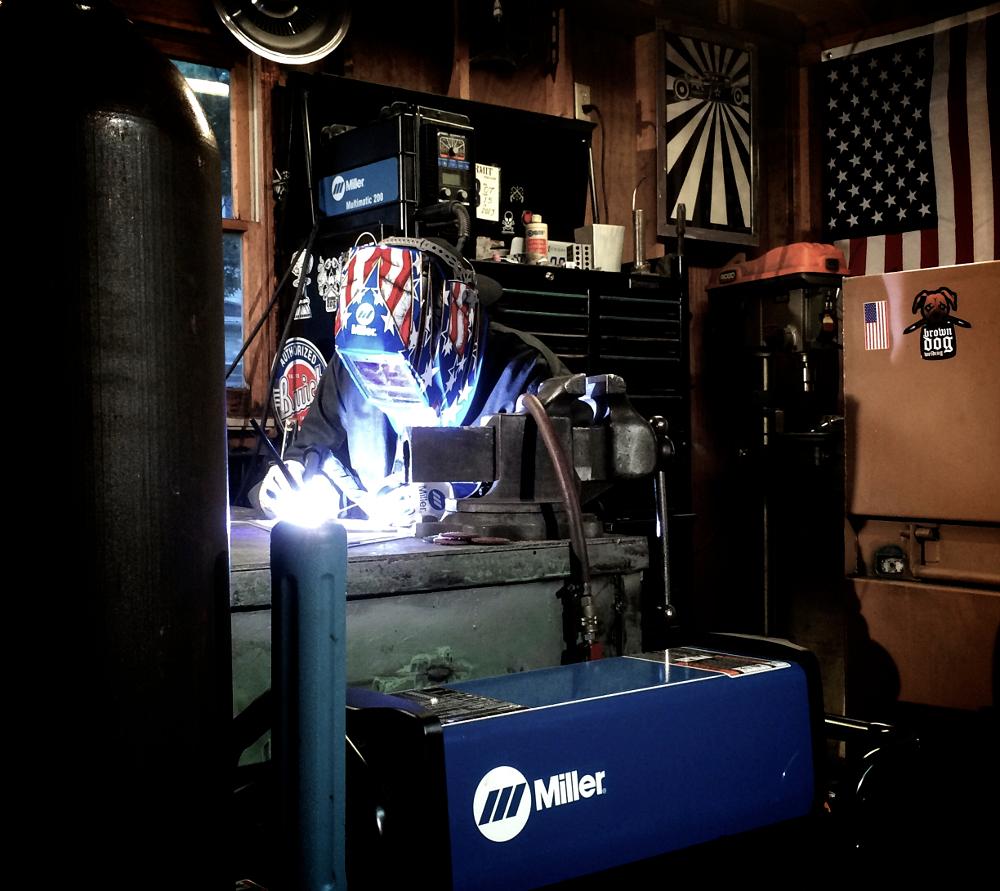
Owner, Brown Dog Welding

TIG welding thin materials can be problematic, no matter the metal. If that metal is stainless steel, more difficulty is added to the equation because of the way it reacts to heat. It doesn’t take much to warp a thin piece of stainless. But there are a few ways to fight back, and they include both tried-and-true techniques and new-school technology.
From a technique standpoint, start with the joint design. A butt joint is going to be more susceptible to warping than a lap joint is. There’s more base metal in a lap joint, so it makes sense that it wouldn’t move as much. If you are forced to use a butt joint, make sure the fit-up is tight. Any gap at all is going to take additional time and metal to fill in, which means more heat, which means more warping.
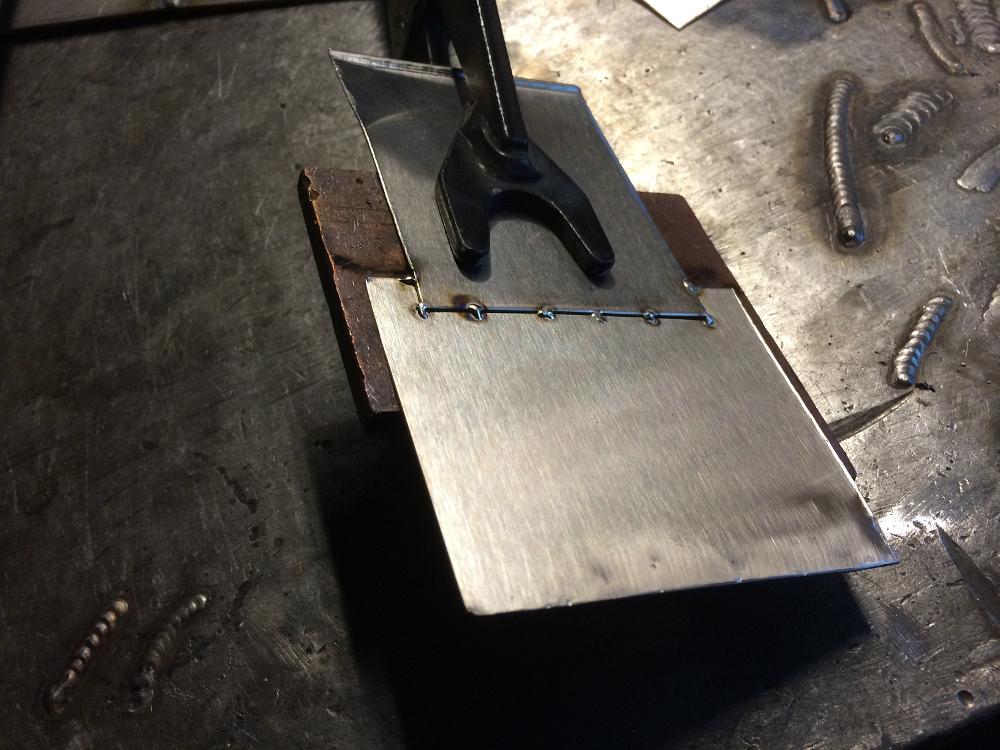
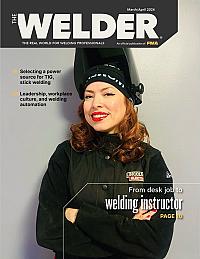
Use a heat sink whenever possible. A chunk of aluminum, copper, or brass works well as these metals tend to suck out heat better than steel. The heat transfers through this chunk of metal instead of the workpiece. The heat sink can double as a backing bar in some cases.
Don’t overweld. Bigger isn’t always better, and in addition to adding unnecessary heat to the joint, overwelding also creates more work for you and potentially could even cause stress points in the weldment. You might even be able to get away with a stitch weld instead of a solid weld, depending on the application.
Move around the piece. From side to side, corner to corner, use common sense to create a pattern that spreads out the heat evenly as opposed to concentrating it in one spot or one direction. Keep the weld short, move to another area to do another short weld, then add to those welds once they cool. Patience can be key. If you are working on several at once, you can move from piece to piece and back as they cool.
Most experts suggest using the smallest filler rod possible to get the job done. The theory is that the thicker the rod, the more heat it requires to melt, and the more heat you put into the workpiece. It makes sense, and it’s probably sound advice, but I’d like to add something to that. If you get caught filling a gap that you can’t avoid, or you just don’t have thin filler, try this approach: Concentrate the heat on the filler, almost like you’re TIG brazing. The filler rod itself can act like a heat sink. It won’t take much heat to melt the base metal, so if you get the filler melted and get your motion down pat, you can just “guide” the filler into the gap to fill it, and instead of the heat transferring to the base metal, it stays in the filler. It’s not a perfect solution, and it can be difficult to master, but for jobs such as this or for building edges on thicker material, it’s a technique that comes in handy.
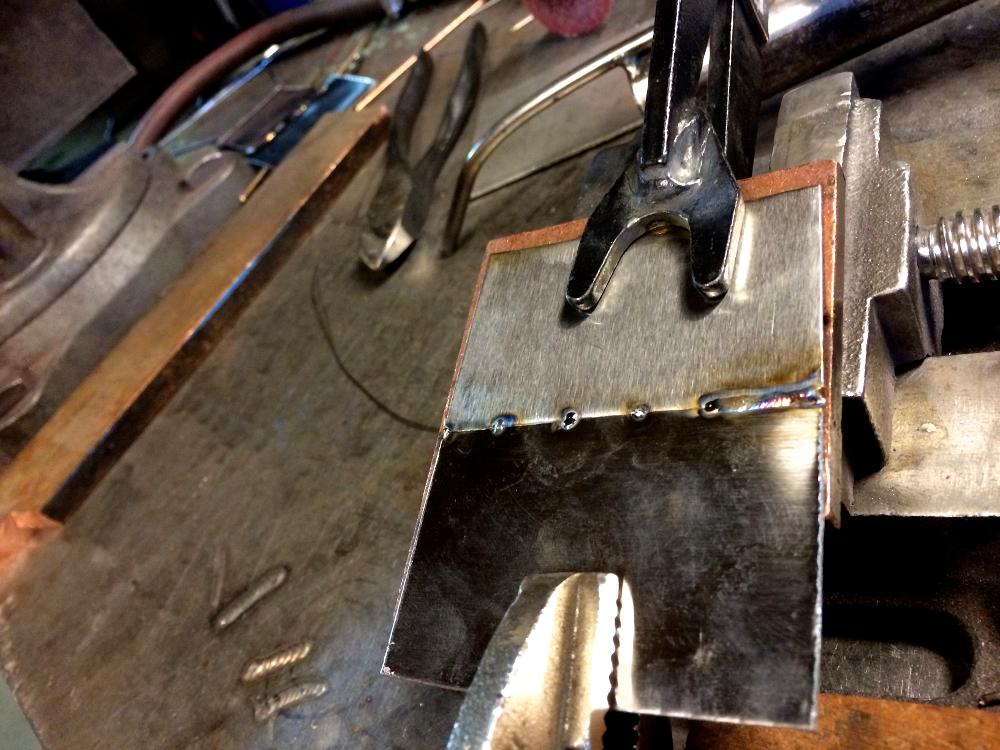
For your tungsten, a smaller-diameter tungsten is nice, but not necessary. If you’re stuck with a larger 3/32-in. or 1/8-in. tungsten, the trick is to give it a long, narrow, smooth point. If you do that, you’ll be able to weld at low amps with no problems.
These recommendations work with pretty much any machine, transformer or inverter. So now we get into where the new-school tech helps.
Many of today’s TIG machines have a pulse option designed for materials like stainless, chromoly, and even thin aluminum. The ability to turn up the pulse per second (PPS) over 100 and fine-tune the peak percentage time and the background amps accomplishes a few things with stainless. The biggest is, it decreases the overall heat input, which decreases warping. But it also focuses the arc and gives you better puddle control, which is huge on a material such as stainless that likes to wet out. Better puddle control ultimately leads to quicker passes and less heat, so that doesn’t hurt either. Lastly, it agitates the puddle. This doesn’t help with the warping so much, but it does help with corrosion resistance by pushing contaminants to the surface of the weld.

The Welder, formerly known as Practical Welding Today, is a showcase of the real people who make the products we use and work with every day. This magazine has served the welding community in North America well for more than 20 years.
start your free subscription

Easily access valuable industry resources now with full access to the digital edition of The Fabricator.

Easily access valuable industry resources now with full access to the digital edition of The Welder.

Easily access valuable industry resources now with full access to the digital edition of The Tube and Pipe Journal.

Easily access valuable industry resources now with full access to the digital edition of The Fabricator en Español.
In this episode of The Fabricator Podcast, Caleb Chamberlain, co-founder and CEO of OSH Cut, discusses his company’s...


